
Okay, so let's get started.
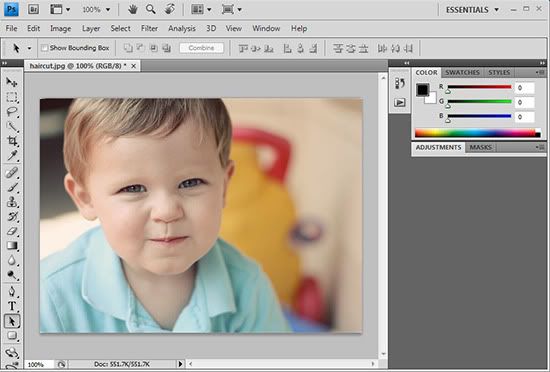
First things first, open up Photoshop.

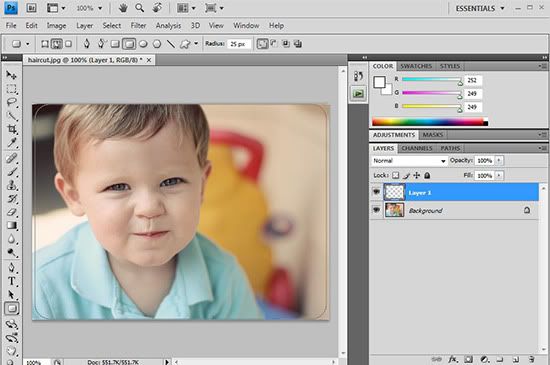
Okay, now that we have Photoshop open, click file and then open. Click on the picture you want to round the corners on, and then click open. Now we are ready to start rounding our corners.
To give our photo the rounded corner look, we must first create a new layer. The box below will be on the right side of your screen. See where my white arrow is pointing to? Click the arrow in the layers palette.
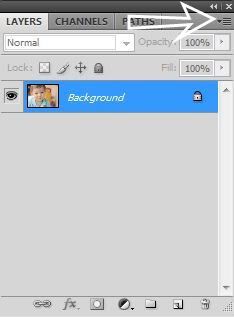
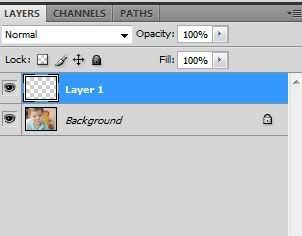
A box will come up with several options. Click the option that says new layer and then click ok. See our new layer above the background layer?
Now we are going to be using the rounded rectangle tool to create the smooth corners. My arrow is pointing to the button you will right click. It will bring up a box with several options. Click rounded rectangle tool.
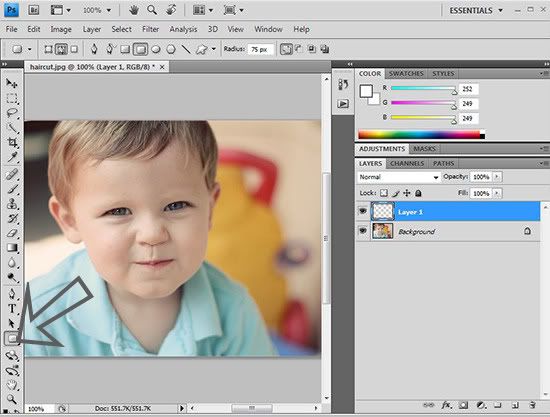
At the top above your photo, you will look for the word radius. In that box, change the number to 50 px. Note: sometimes you might need to change this number depending on how round you want your corners. The higher you make the number, the rounder the edges will be.
Next we are going to draw the shape layer over the photo. All you do is drag your cursor. It might be a little bit hard to see in my example, but if you look closely there is a light gray rounded rectangular shape over my picture.
Okay, now double click on the layer that is blue on the right side of your screen. A dialog box will show up. It will look like this:
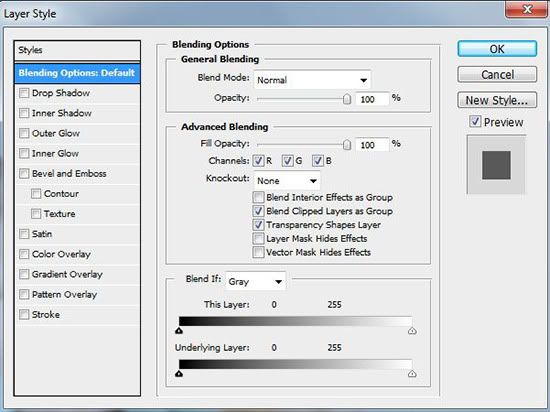
Under the advanced blending in the box, move the fill opacity slider from 100% to 0%. Then click ok.
We are almost done.
Now on the right, click the paths tab in the layers palette.
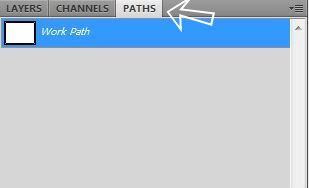
In the blue area, right click. A box with several options will show up. Click make selection and this little box will show up:
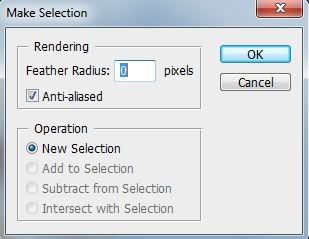
Before you click ok, make sure your feather radius is set at zero. Also, make sure the anti-aliased box is checked. Then click ok.
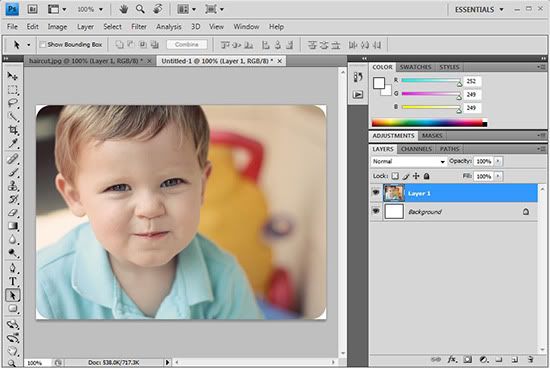
Now we are going to get the new rounded rectangle image in a new window. Click edit at the top of the screen. Then click copied merged.
Next click file and then click new. This screen will pop up:
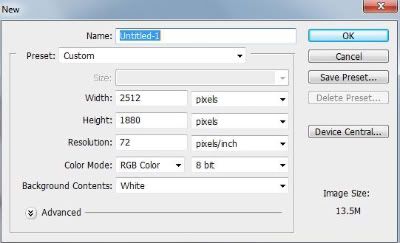
Click ok. Then go back up to edit again and click paste. Your image will be placed on the new document you opened and you should now have rounded corners like mine below!
How did you do? Wasn't too hard, huh? At first it may seem a little tedious, but after you do one or two of them, you will be able to round corners in no time.
Now, for those of you who do not have Photoshop, roundpic.com is a free service that rounds the corners for you. Click browse, find the picture you want, and then click round it. Pretty easy.
Note: The corners of the pictures are not as smooth as ones edited in Photoshop {obviously}, but definitely not bad at all for an {free!} online service.
Again, if you encounter any problems or have any questions, don't hesitate to email me. I'll be happy to help!
Good luck and have fun rounding!


10 comments:
THANK YOU!! Bookmarking this one for later practice... :)
I am so going to open a picture and practice this right now... great tutorial... I have never done this correctly... SO excited!!!
Thank you!
Amanda
I was so excited to find a tutorial on this.. I think the rounded corners are soo pretty. My PSE looks a little diff. than yours and I am having a hard time finding the radius part.. going to keep working with it though. Thanks for posting this. I need all the tutorials I can get on PSE8
You should definitely make an action for that!
well, well, well guess what I have :) here is a rounded corners action:
http://www.adobe.com/cfusion/exchange/index.cfm?event=extensionDetail&extid=1717526
i am going to try this right now! thanks for the step by steps!
hi libby! i don't use rounded corners but this is such a great tutorial! hope you keep doing it.
the only thing *i* wanted to add to save you.... three seconds.... is that you don't have to click "file-open" to get a pic in there.
all you need to do is double click in the grey area of PS. and it'll automatically bring up your file browser. :-)
the day i learned that, the heavens sang their glory! haha
awesome! thanks chriselda! love those short cuts!
Another way to open files.. when you have your folder open, just click and drag your photo into the grey area.
Also - I was looking around and found an action that I could download. It automatically rounds ALL the photos you want (and only the photos you want). You could make your own action too. Do you know about this?
Thanks for posting this...I'm excited to try it out since we just recently got photoshop. What a difference it makes!
Post a Comment